
O&O DiskRecovery 14: Professional data recovery made easy
O&O DiskRecovery functionality begins where other programs leave off. This software combs every sector of a hard disk, memory card, or digital camera to find lost files. Even when files systems are format-ted or destroyed, it is possible to reconstruct once deleted data. Over 400 file types and version can be recognized and restored, including Word docu-ments, Excel workbooks, Access databases, and virtually every sort of commonly used graphics, photo, movie, and music formats (SVG, MP4, BLEND, AUP, JPEG, AVI, MPEG, MP3, WAV, BMP, TIFF, Corel Draw, Photoshop, Framemaker, Adobe Illustrator, and many more)
Product features
- Easy-to-use Wizard to search for and recover files
- New and improved data recovery methods
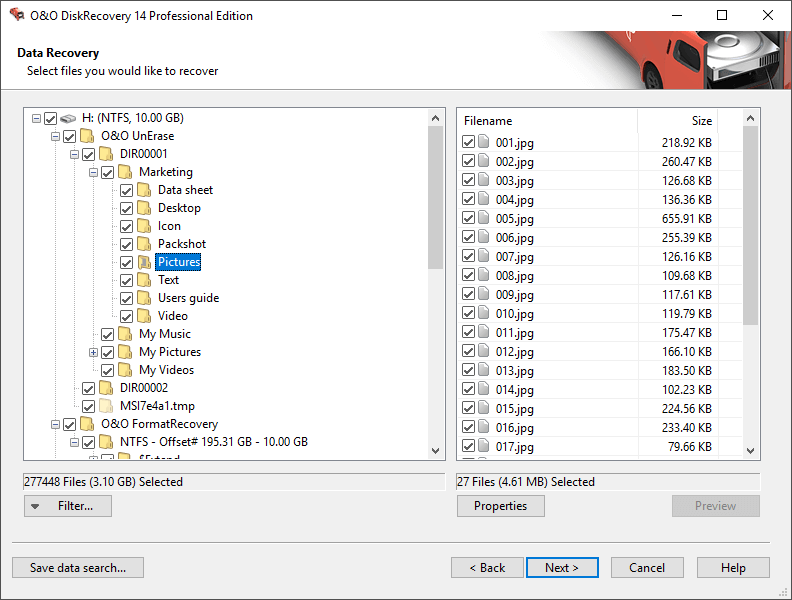
- Preview of files prior to recovery
- Unlimited number of files can be recovered
- Quick Scan and Deep Scan available
- Supports over 400 file types and versions, unlimited number of recoverable files
- Supports all Windows-compatible hard disks, removable drives, memory cards, USB Sticks, CompactFlash, and most digital cameras
- Fast Instant-Installation option
- Add User-defined signatures
- Supports Windows® 8 bis Windows® 11 (alle Editionen)
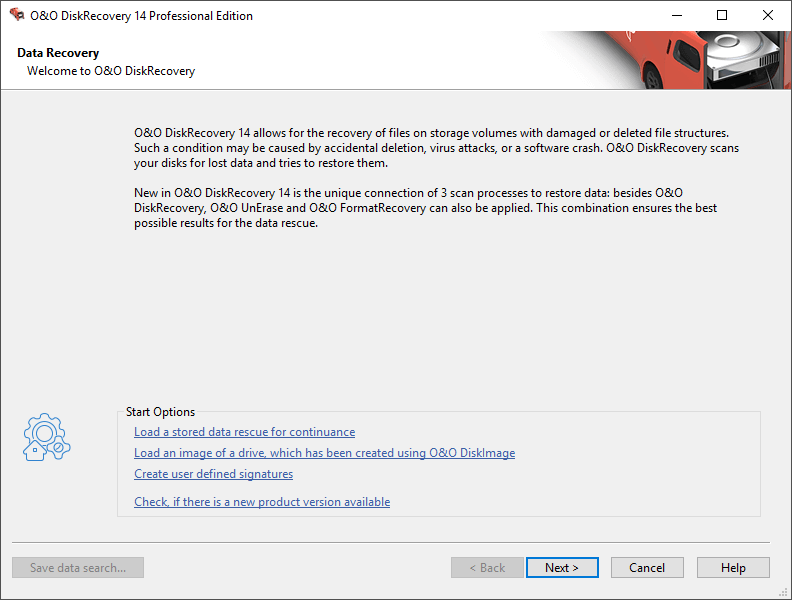
O&O DiskRecovery searches for and reconstructs data that was deleted or lost through software error. It scans the entire hard disk, partition or USB Stick for lost files. Usage is very intuitive, with a step-by-step wizard enabling users with little or no experience to easily recovery data they feared was lost. The free trial version lets users see before they buy just what lost data is in fact recoverable!
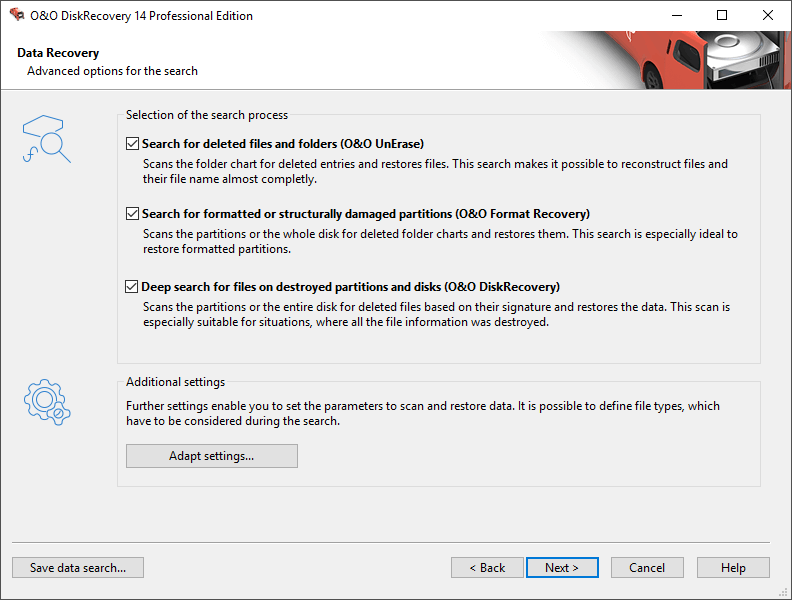
Three integrated search algorithms
The three integrated search methods use different technologies for data reco-very, which complement each other perfectly. Use O&O UnErase for For quick searches and sector-based deep scan on a drive that is damaged yet still accessible.
Preview function
Upon completion of the scanning process, you’ll be able to preview the reco-vered data. O&O DiskRecovery supports various picture and text formats for the preview function, including JPEG, BMP, TIFF, TXT.
Using O&O DiskRecovery in an emergency
If O&O DiskRecovery is not already installed on your computer when trouble strikes, the instant installation is ready to help you. All you’ll need is a second computer and a removable drive (e.g., USB Stick, external hard disk). Start the installation on the second computer and save the “Instant Installation” on the removable drive. You can then connect this drive to the target computer on which you want to recover data, and run O&O DiskRecovery from there. Doing so will let you avoid a complete installation on the target computer, which in turn could possibly overwrite important sectors of the hard disk that are needed for a restoration.